🛠
Deploy a website from scratch in minutes with Zeit Now.
A simple introduction to a powerful (and free!) deployment technique. Choose below whether you want to follow the command line or desktop tutorial.
Sun May 21 2023
Note: I still have a lot to learn, so take what I write with a grain of salt. I want to share what I've learned with you because learning it genuinely brought me joy, and I want you to have some.
I am not affiliated in any way with Zeit. (I wish... 🤑)
What's your experience level?
Advanced tutorial ?
Beginner tutorial ?
📚
Chapter 1:
First Deployment
Objective (Advanced)
To learn a simple, elegant deployment process for publishing web content that works for beginners and experienced developers 🤖.
1. Setup
If you're not familiar with using the command line, this version of the tutorial might be confusing. If you'd rather learn the Desktop version of the tutorial, toggle the Beginner tutorial button above.
Open Terminal
All macs have the program Terminal installed by default. Open it, type ls, and press enter. You should see a list of files (kind of like a stripped down Finder) as the output.
ben@bs-tb13 ~ » ls
Applications/
Creative Cloud Files/
Desktop/
Documents/
Downloads/
Dropbox/
Internships/
Public/
Library/
Movies/
Music/
Pictures/

ben@bs-tb13 ~ »
To get started with our new project, we'll need to change directory (folder) from our root to wherever you want your code to live.
Use the command cd to enter an existing directory.
cd Desktop                              // Enters your Desktop folder
mkdir sampleProject && cd sampleProject // Chains two commands: creating and entering a directory
Adding files to a directory is easy from the command line. Use the following command to create two files: index.html and now.json. Now.json is your config file for Zeit Now.
echo "<h1>I can't wait to be deployed...</h1>" > index.html
echo '{ "version": 2 }' > now.json
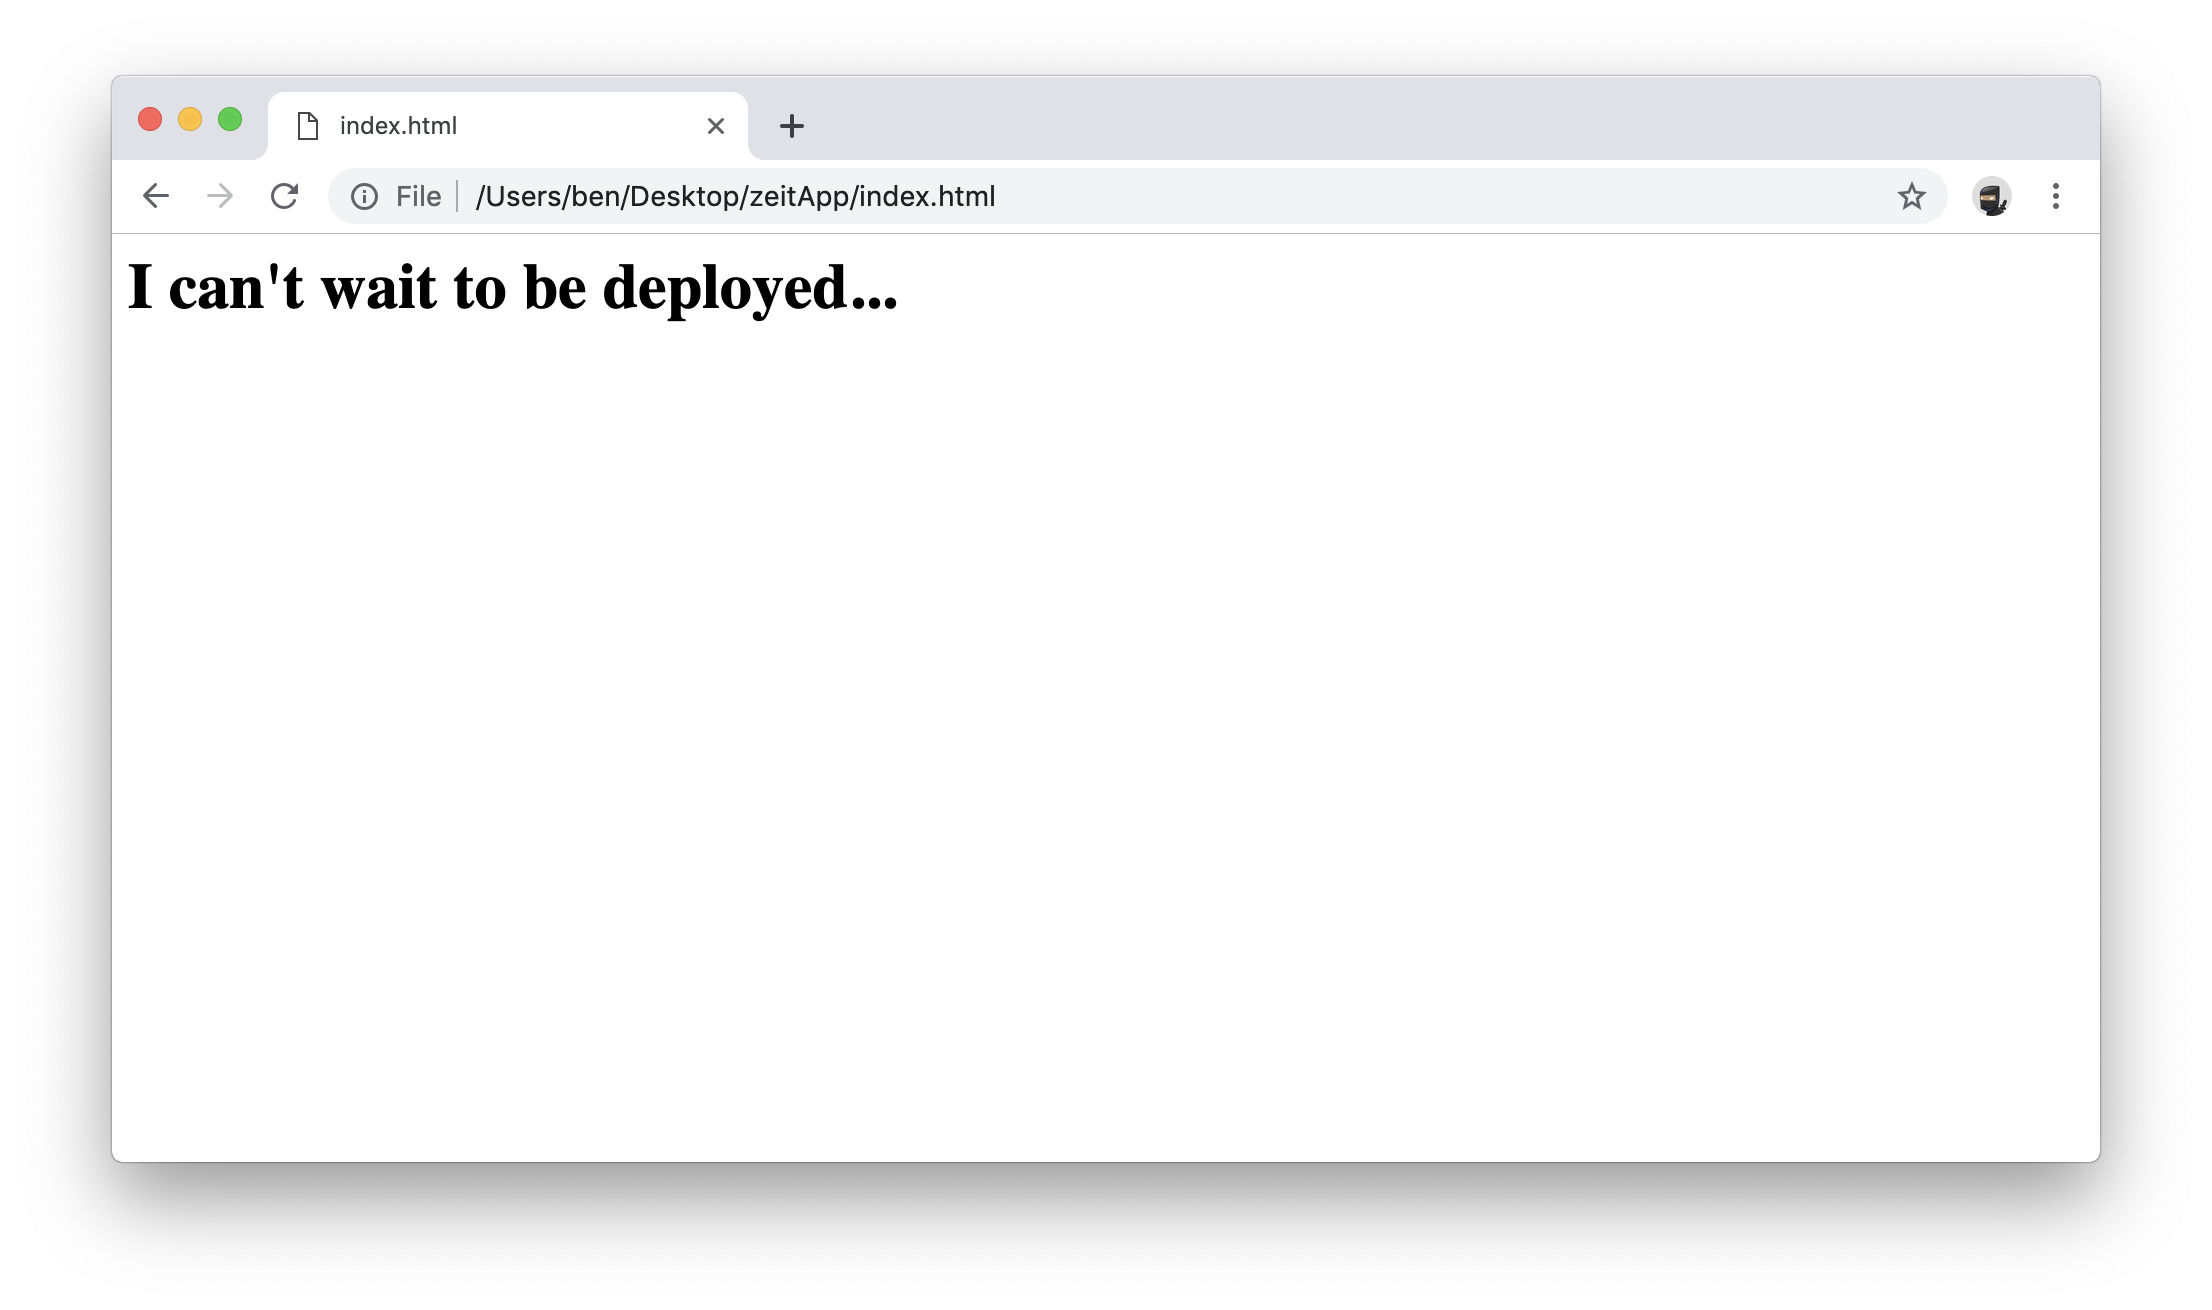
Open index.html in your browser to make sure it worked.
open 'index.html'
2. Create a Zeit account
The Zeit Now platform is extremely powerful, but for now we can think of Zeit as a simple hosting service for our static website. In the next few minutes we'll get deployment of our code to the web working with just one command in Terminal. 😲
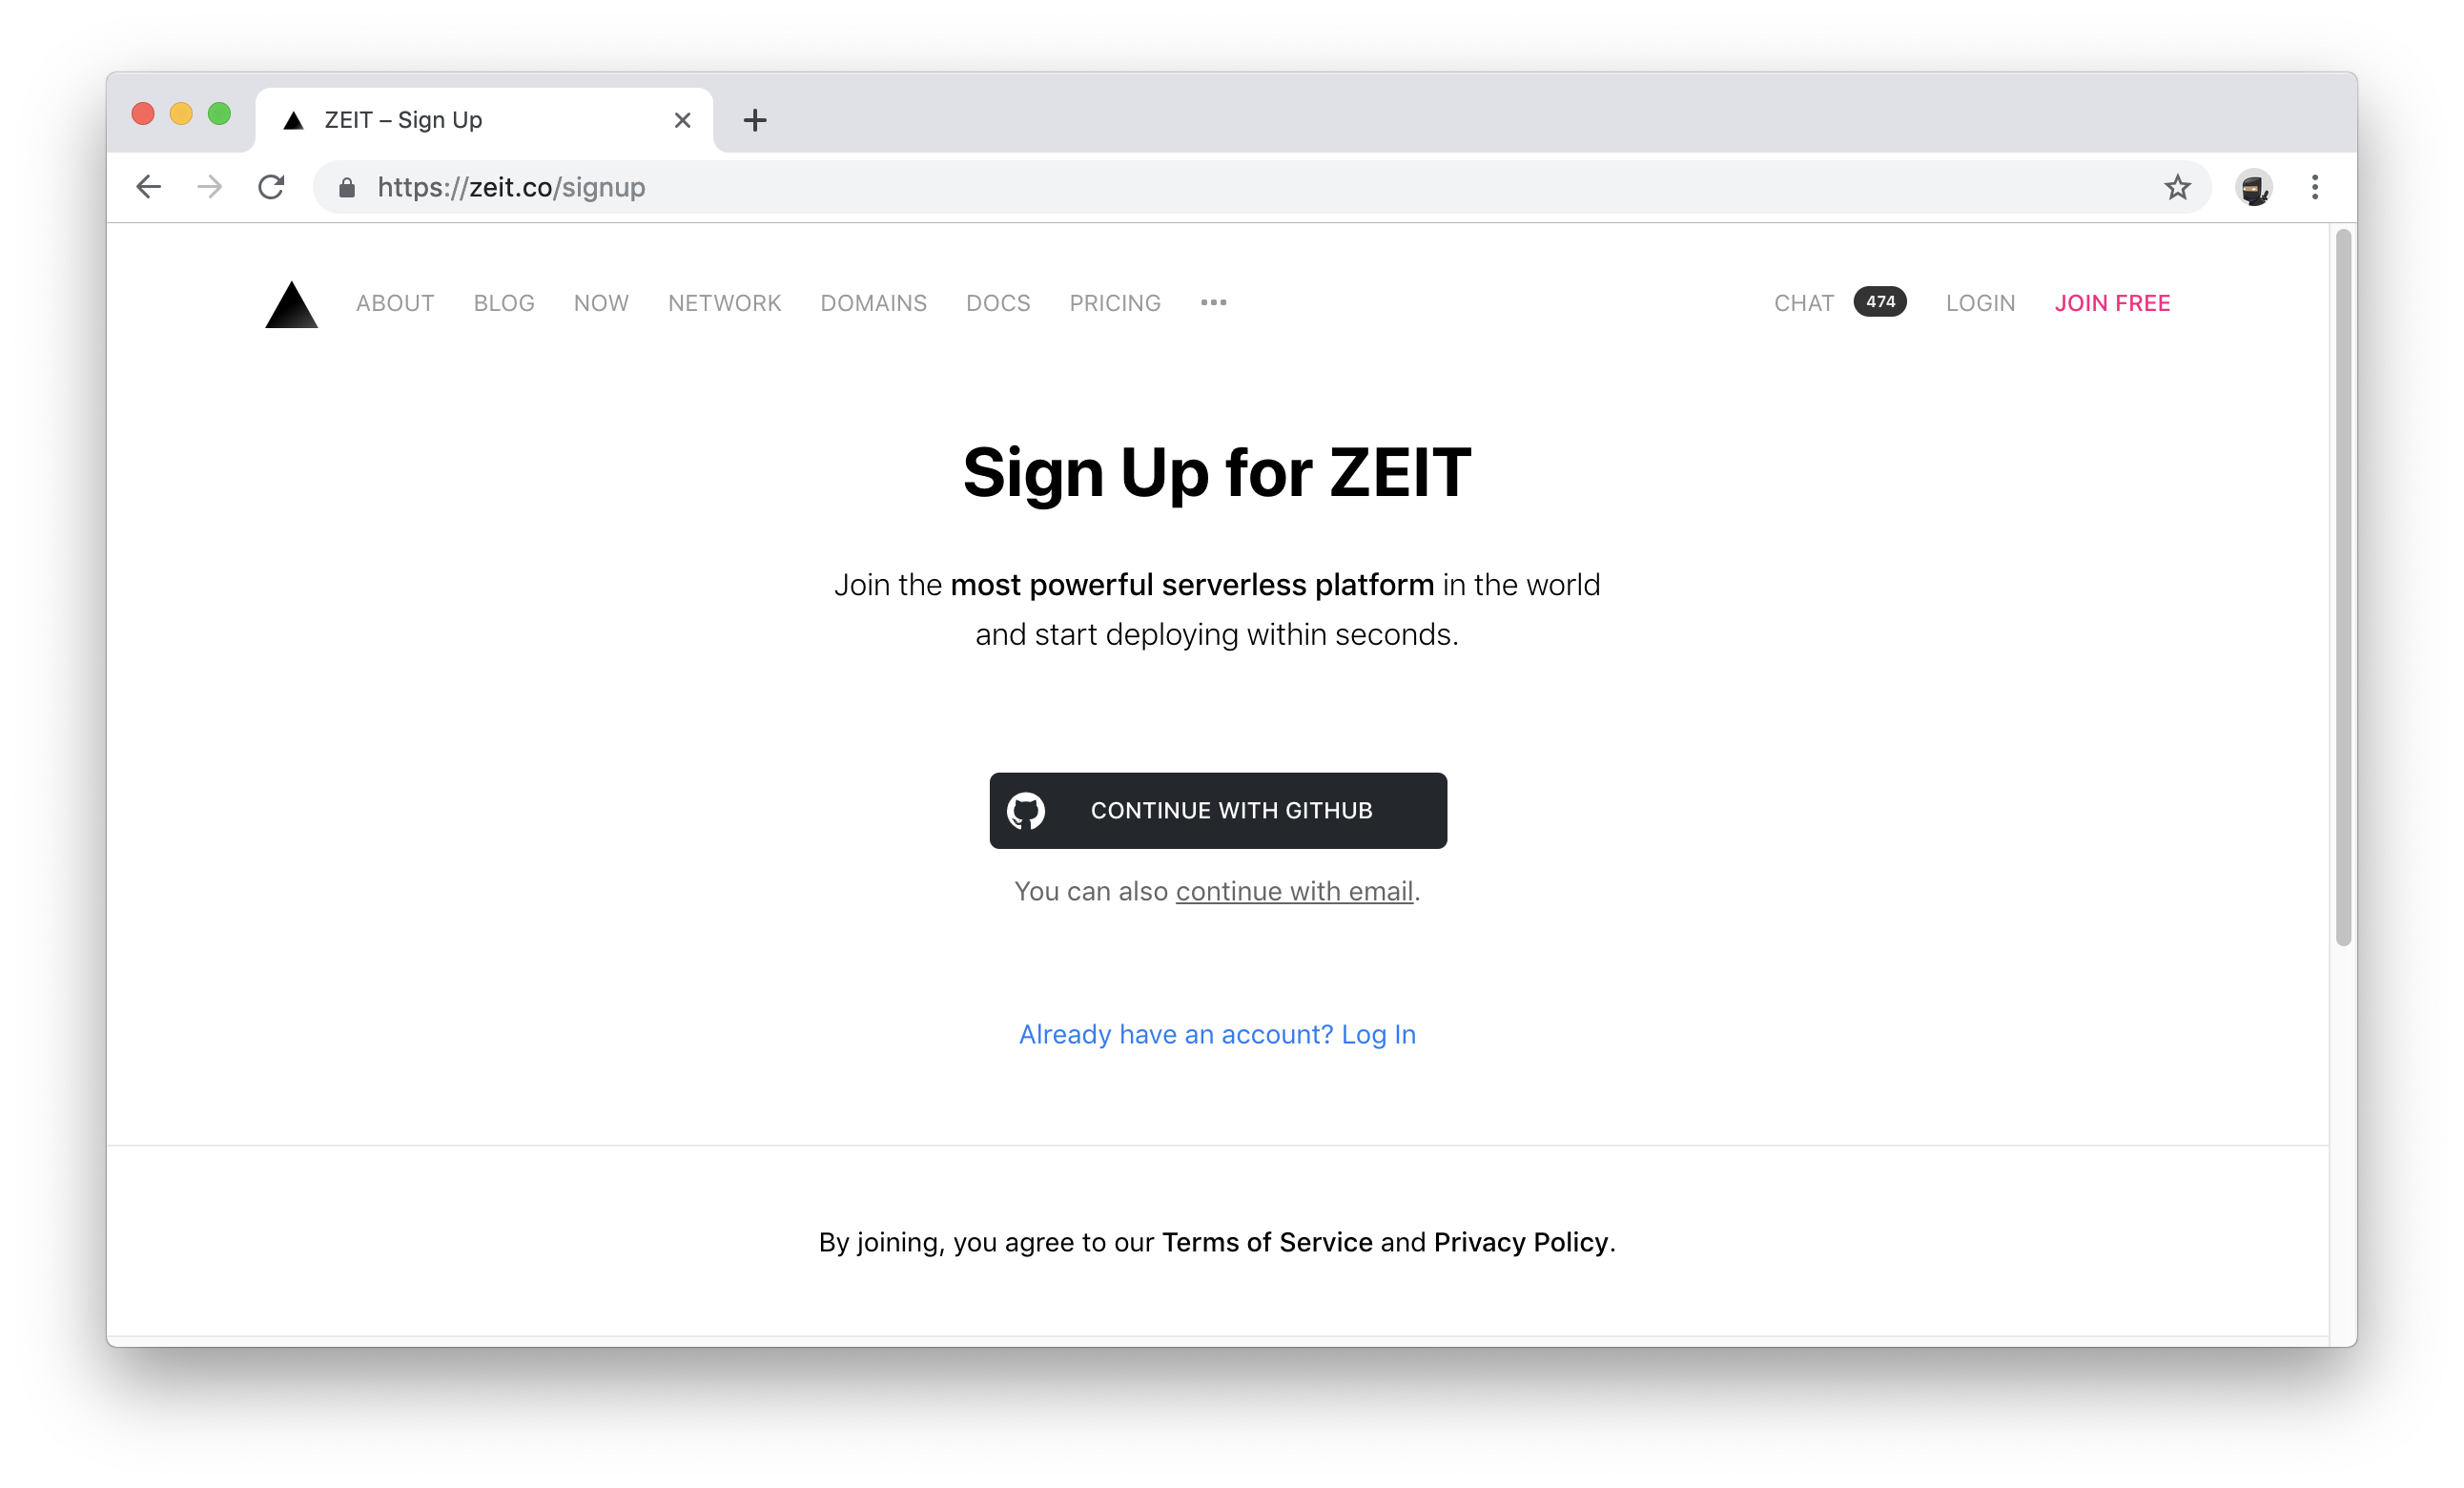
First, visit zeit.co and sign up (choosing "continue with email" is fastest).
When prompted, make sure to install the Now CLI (Command Line Interface). This allows us to write commands to deploy our website from the command line.
To confirm that you're logged in and have Now CLI installed, return to your project directory in Terminal and run this command:
now --version
// ex: 14.0.3
3. Deploy
🚨 We're one step from deployment! Just type the command now and your directory sampleProject will be deployed to a staging URL.
You should see something like this:
ben@bs-tb13 zeitApp » now
> Deploying ~/Desktop/zeitApp under benstanfield
> Using project zeitApp
> Synced 1 file (40B) [1s]
> https://zeitapp-d005ajovh.now.sh [v2] [in clipboard] [826ms]
┌ **        Ready               [404ms]
└── index.html
> Success! Deployment ready [3s]
Objective (Beginner)
To learn a simple, elegant deployment process for publishing web content that works for beginners and experienced developers 🤖.
1. Setup
If you're interested in learning more about the command line or just want the fastest possible path to deployment, toggle the Advanced tutorial radio button above.
Create a project folder
Start by creating a new folder somewhere on your computer where the code for your website will live.
Create "index.html"
Create an index.html file within your project folder and include the following line of code:
EDITOR
<h1>I can't wait to be deployed...</h1>
Double-check it
Open your file system and navigate to your index.html file. Right click and launch it in Safari or Chrome (or whichever browser you prefer). You should see something like this:
Create "now.json"
Create a second file named now.json. Insert the following code into the json file.
{
  "version": 2,
  "alias": []
}
2. Create a Zeit account
The Zeit Now platform is extremely powerful, but for now we can think of Zeit as a dead-simple hosting service for our static website. In the next few minutes we'll get deployment of our code to the web working by simply dragging a folder! 😲
First, visit zeit.co and sign up (choosing "continue with email" is fastest).
To confirm that you're logged in and have the app running, check your navigation bar. Click on the Zeit triangle icon "▲".
You might be prompted to watch a tutorial or enter your email. Once you've cleared that screen, you should see something like this:

3. Deploy the sample app
To deploy the index.html and now.json files we created with our project folder, simply drag that folder from Finder onto the Zeit triangle icon. Your deployed content should be opened up automatically! 🎉
That's it! Our sample project has been deployed to the outputted link (now in your clipboard). Anyone on the internet can view that link.
Psst: Wondering why Zeit outputs that strange URL? Tell me more...
What's next?
We've accomplished a very quick and easy deployment to the web! But the .sh output URL of a Now deployment isn't ideal for your website. Ideally, you want to deploy to your custom domain. So this leaves a couple options...
📚
Chapter 2:
Buying a Domain
1. Browse
But why browse on Zeit?
There are a lot of companies that will sell you a domain—GoDaddy, Namecheap, FreeDNS, Google Domains, etc.—so what makes one better than the next? Here's one reason: Some domain registrars leak your domain search history, which can result in your preferred domain being taken before you're ready to pay.
Note: If you already have your domain, check out Zeit's guide for migrating an existing domain to Zeit, and then return to Step 3 of this chapter.
Zeit guarantees that no searches made on their site will be shared, so search away! Plus, buying a domain through Zeit makes deploying your site through Zeit (see part one) that much easier. Here are some other benefits of buying through Zeit:
- Free SSL certification
- Free WHOIS privacy
- Built-in Zeit Now integration
- Free DNS (Your site will work across the globe, among other things)
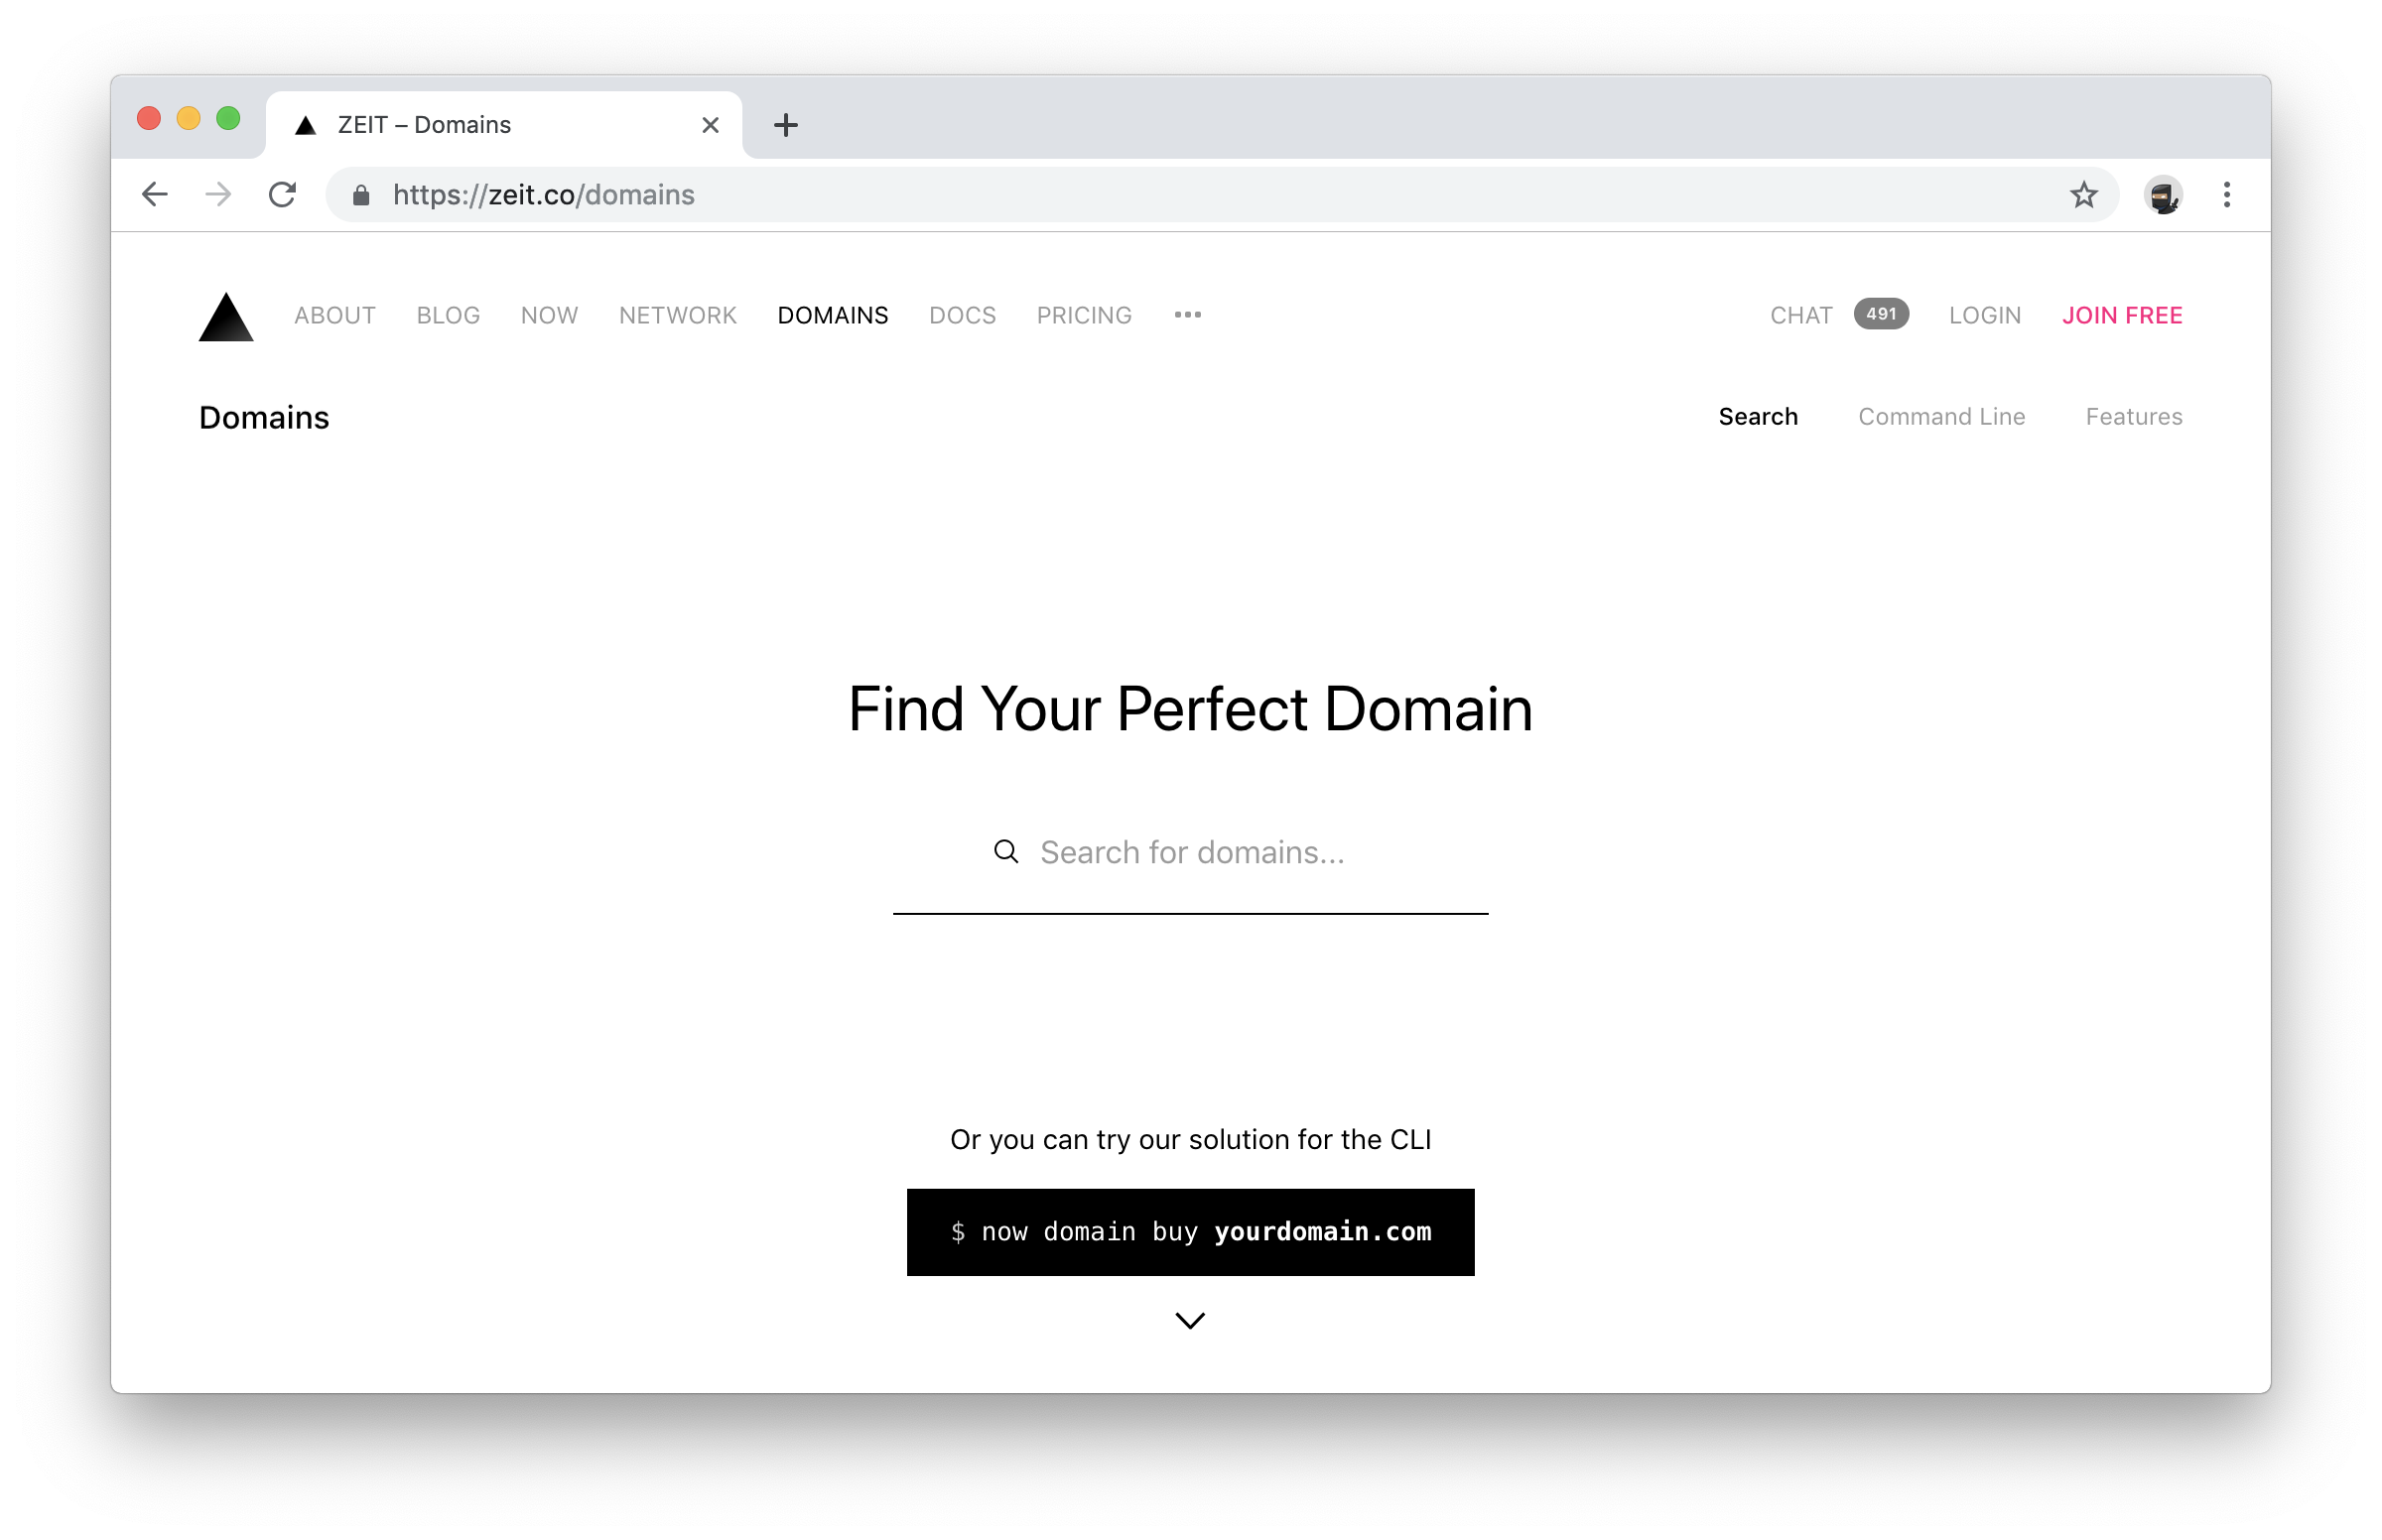
Find a domain
To start looking for your domain, visit Zeit.co/domains
2. Buy
Once you've found your domain, return to the command line. It doesn't matter what directory (folder) you're in, as long as your now command works.
Reminder: If you're unfamiliar with the command line, you can switch to the beginner version of this tutorial using the buttons at the top of the page.
now domains buy mydomain.com
If you don't have a payment method attached to your Zeit account, you'll be prompted to enter payment info on the command line.
Check that your domain has been registered to your account
Return to the command line and type now domains ls. You should see your domain name appear alongside some meta information like age and serviceType. cf stands for Cloudflare. You can toggle Cloudflare services for your Zeit domain from your dashboard.
now domains ls

> 1 domain found under benstanfield [231ms]

    domain                   serviceType    verified    cf       age
    yourdomain.com           zeit.world     true        true     1d
3. Publish your content!
The last step to having a fully-functioning website is to connect, or alias, the content from Chapter 1 to your custom domain.
Return to the command line. Make sure you're in the correct folder (ls), and type now alias followed by the long deployment domain from part one, and your custom domain (don't worry about prefixes like "https://" or "www" ... just type "yourdomain.com").
// now alias [deployment domain] [custom domain]

now alias https://public-fi0dkn9ep.now.sh yourdomain.com
> Assigning alias yourdomain.com to deployment public-fi0dkn9ep.now.sh
> ...
> Success! yourdomain.com now points to public-fi0dkn9ep.now.sh [4s]
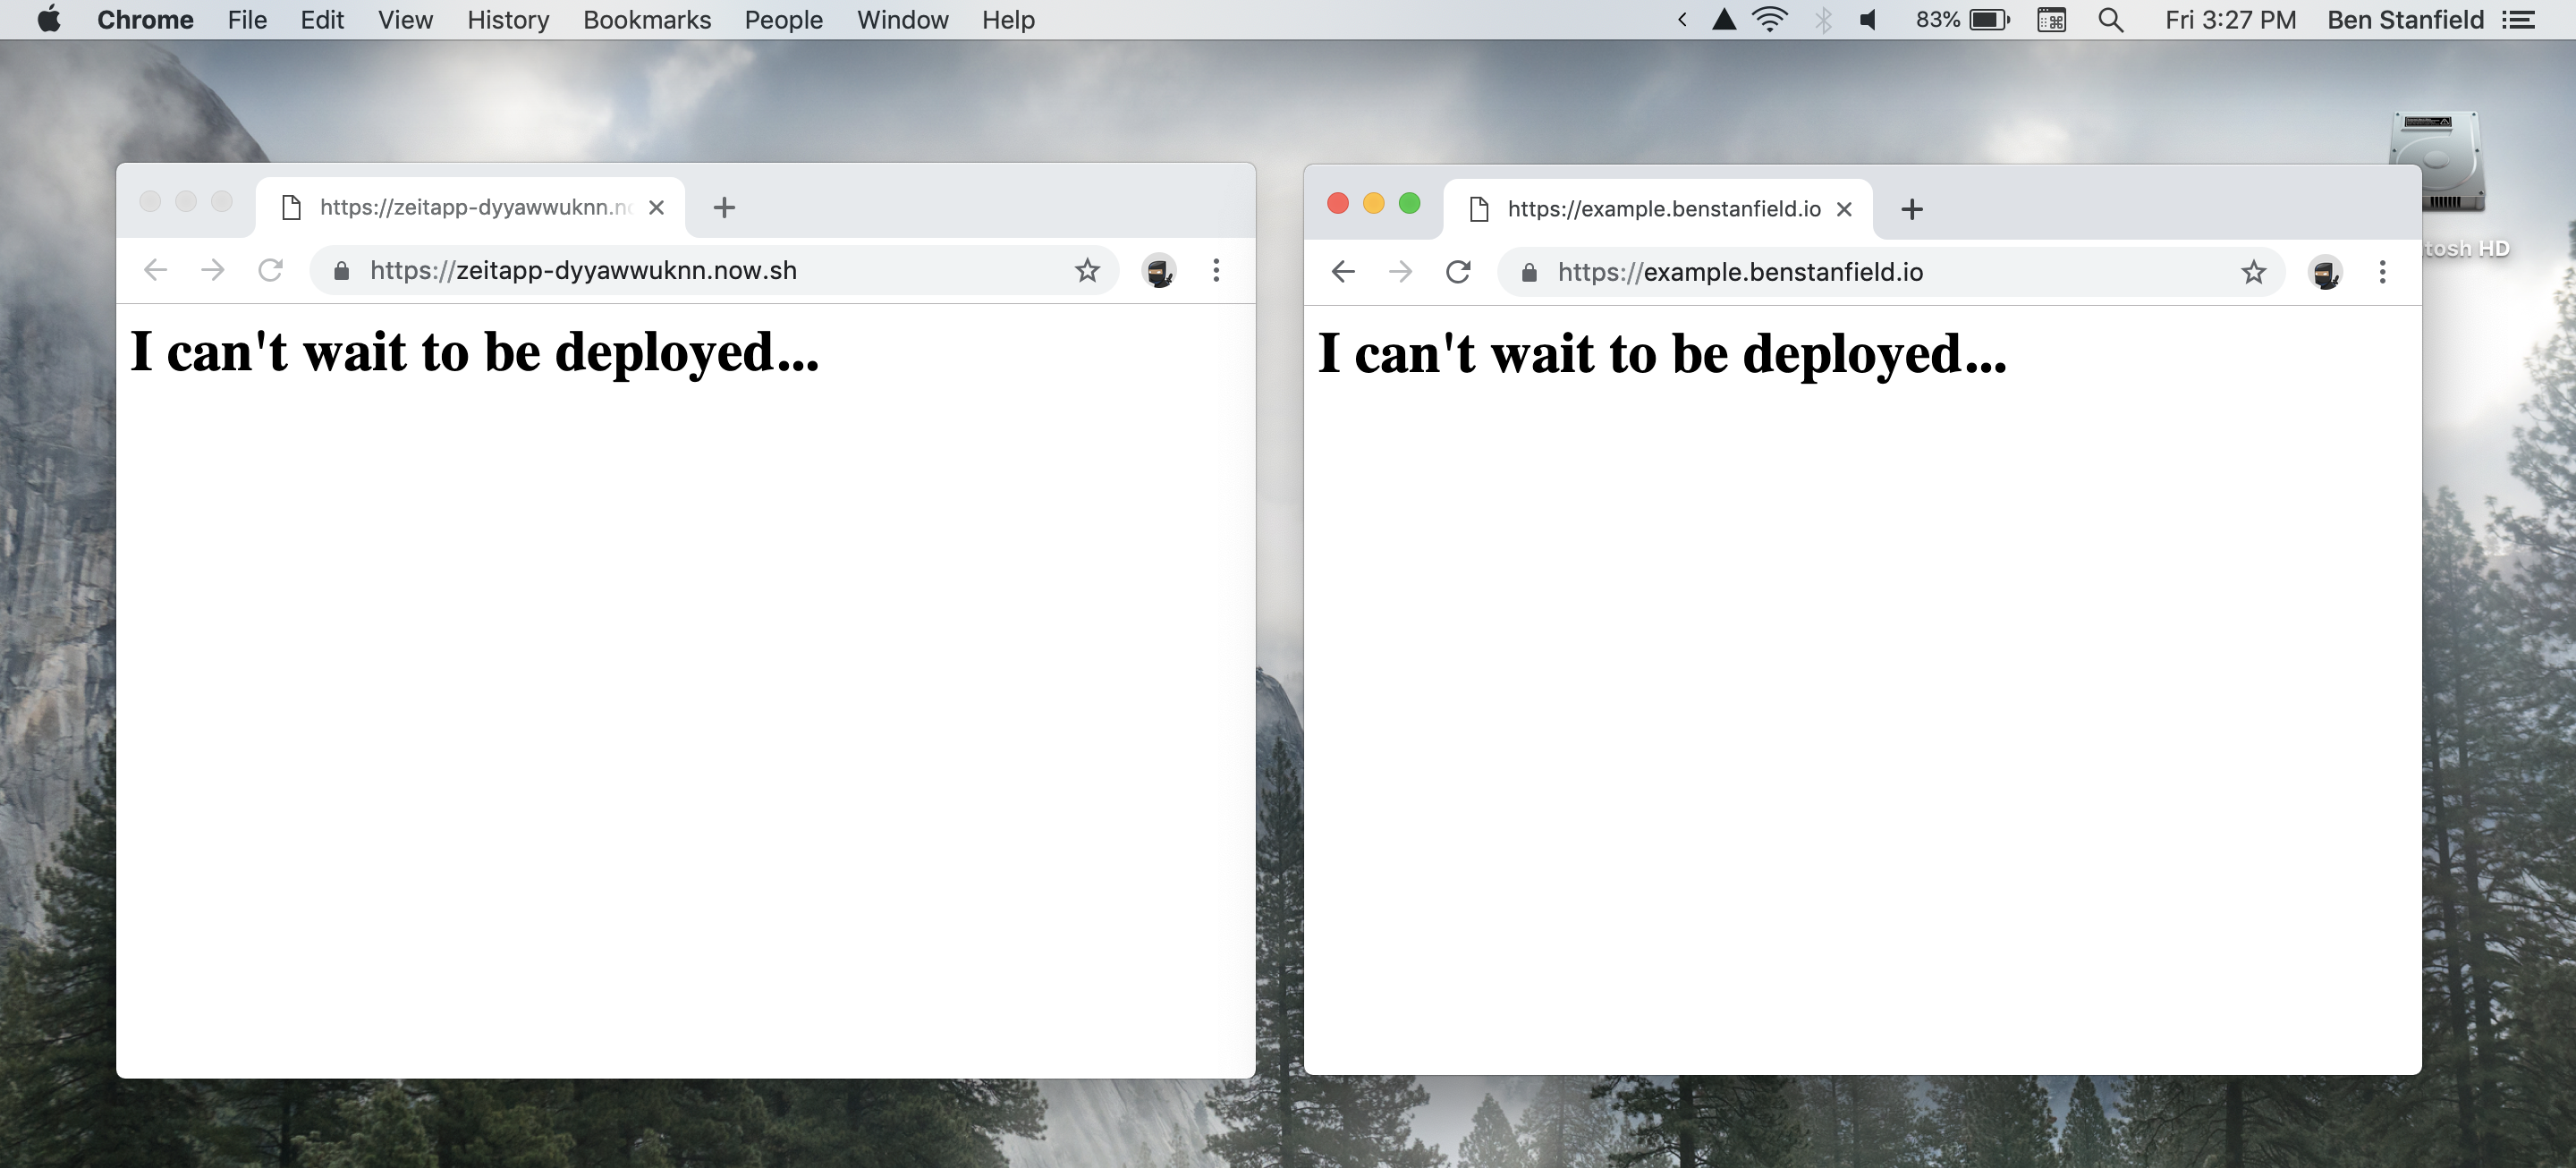
And that's it! Anytime you want to deploy your current codebase, just type now to get a new deployment URL.
Bonus 🧠
For simpler aliasing, you can add your alias locations to the now.json file:
{
    "version": 2,
    "alias": [ "test.benstanfield.io", "www.test.benstanfield.io" ]
}
And to deploy and alias simultaneously, chain two commands.
now && now alias

// Deploys once, then aliases that deployment URL to everything in the "alias" array.
2. Buy
Once you've found your domain, click on it to buy. You might need to enter credit card information on Zeit if you haven't yet.
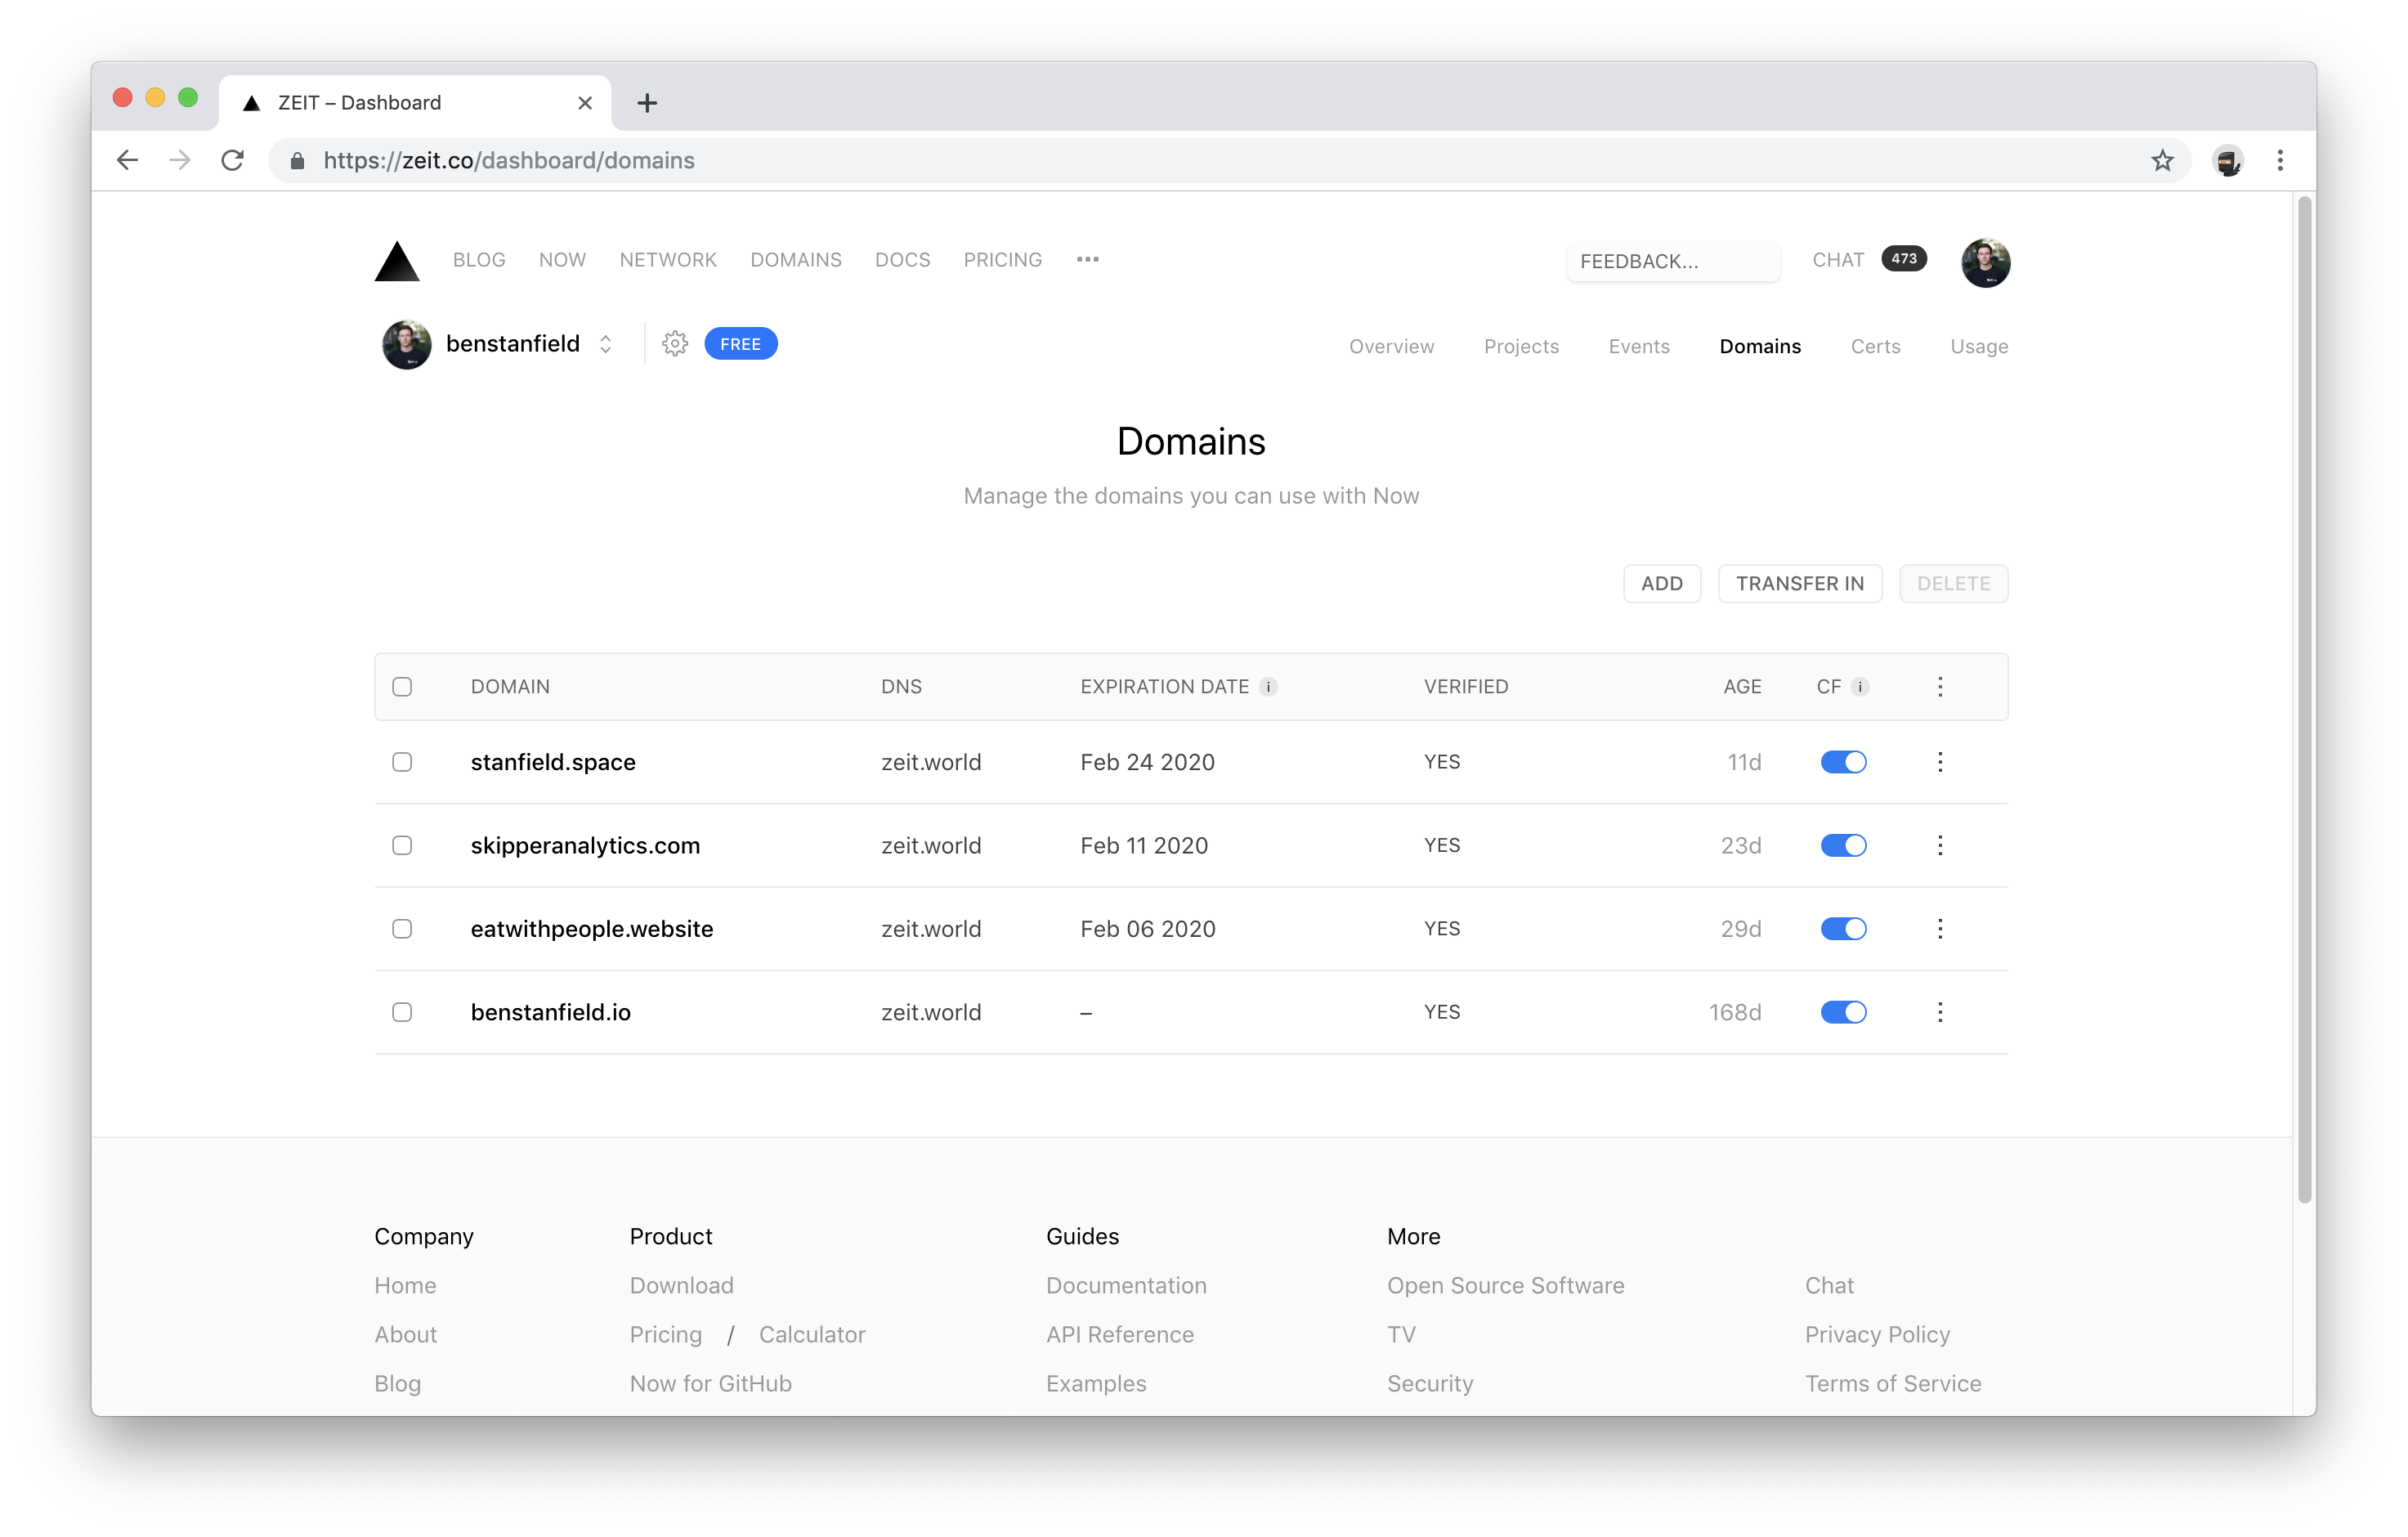
After purchasing, navigate to your dashboard and click on the Domains section. You should see a list of all your domains there (likely just the one that you bought).
Publish your content!
The last step to having a fully-functioning website is to connect, or alias, the content from earlier in the tutorial.
To alias a deployment, visit zeit.co/dashboard. You should see a list of your project(s). Click into the simple project (mine is called zeitApp) you deployed earlier and select the most recent deployment URL. Alias it with your custom domain, or some variant of your domain name (like blog.yourwebsite.com).
Now, whenever you want to update your site, drag your folder into the Now app, check out the deployment URL to make sure everything looks right, and alias it from your dashboard.
Enjoy your new home on the web! 🏡
- Ben
